How Do You Choose the Right Beam Angle for an LED Fresnel Light?
Views: 2 Author: Site Editor Publish Time: 2026-08-07 Origin: Site


Selecting the wrong beam angle for professional lighting installations results in compromised subject isolation, wasted energy, and unmanageable light spill. Lighting directors, facility managers, and cinematographers must translate manufacturer photometric specifications into real-world performance, balancing throw distance, coverage area, and fixture placement constraints. You cannot simply guess the spread; you need hard data. This guide provides an evidence-based framework for evaluating beam angles, comparing fixed-angle fixtures against a Zoom LED Fresnel Light, and aligning optical specifications with strict production and architectural requirements. We will break down the physics of light dispersion, analyze application-specific demands, and outline the exact metrics required to validate fixture performance before installation. By understanding the mechanics behind the lens, you can eliminate guesswork and ensure your lighting plot delivers precise, controllable illumination exactly where it is needed.
Beam Angle vs. Field Angle: Accurate specification requires distinguishing between the beam angle (where light intensity drops to 50%) and the field angle (where intensity drops to 10%), as both dictate edge falloff and barn door effectiveness.
Application Dictates Width: Narrow beams (10°–24°) are mandatory for long-throw spotlighting, while wide beams (40°–60°+) are required for short-throw wash applications.
The Zoom Advantage: A Zoom LED Fresnel Light offers critical operational flexibility for multi-use spaces, though buyers must account for potential mechanical complexity and slight optical efficiency trade-offs compared to fixed lenses.
Systemic Layering: Achieving professional dimensionality requires layering a mix of beam angles (e.g., tight spots paired with broad washes) rather than relying on a single uniform beam angle across all fixtures.
Photometric Validation: Procurement decisions should never rely on beam angle degrees alone; evaluating IES files and lux-at-distance charts is essential to verify usable intensity.
Understanding Beam Angle Physics in an LED Fresnel Light
Defining the Metrics: Beam vs. Field Angle
The technical definition of beam angle, measured as Full Width at Half Maximum (FWHM), geometrically calculates the cone of light from the virtual vertex of the source where the intensity drops to 50% of the center peak. The field angle defines the boundary where intensity drops to 10%. Understanding both metrics allows lighting technicians to blend multiple fixtures seamlessly across a stage or studio floor. The stepped design of a Fresnel lens shapes the raw LED source into a soft-edged, directional beam. This specific optical design prevents the hard, defined edges seen in profile spots, making the light much easier to control and blend with adjacent sources.
When you look at a photometric chart, the beam angle tells you where the core punch of the light lives. The field angle tells you where the light actually stops affecting the set. If you only calculate based on the beam angle, you will end up with overlapping field angles that wash out your contrast ratios. You must account for the entire spread of the light to maintain proper subject isolation.
Optical Mechanisms: Fresnel vs. PAR vs. Open Face
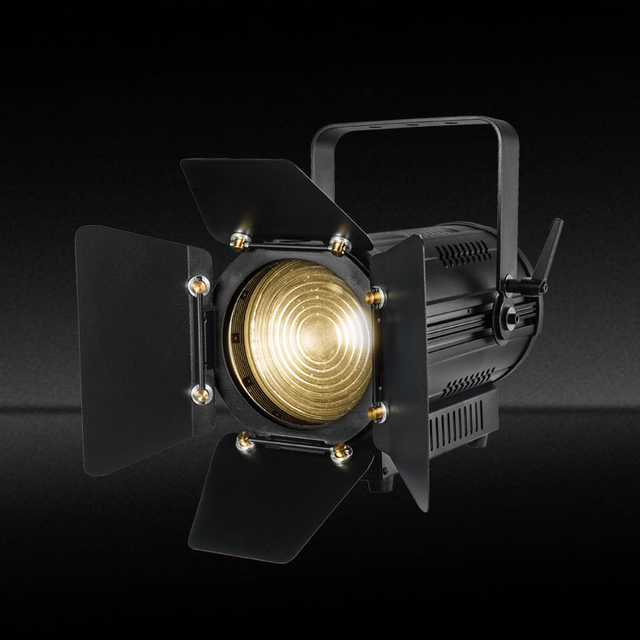
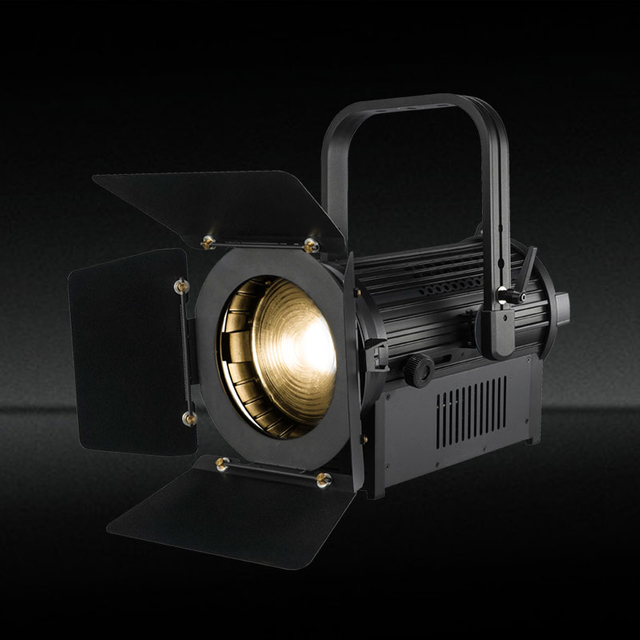
An LED Fresnel Light shapes beam angles dynamically by physically moving the LED light engine relative to the lens on a mechanical track. Moving the engine closer to the lens floods the beam; moving it further away spots the beam. This mechanical relationship provides smooth, continuous adjustment.
Fresnel beam control is inherently superior to PARs and Open Face fixtures for specific applications. PARs rely on interchangeable lenses (narrow spot, medium flood, wide flood) which require physical swapping and offer no intermediate adjustments. Open Face fixtures suffer from unconstrained side-spill and harsh edges, making them difficult to control with barn doors.
| Fixture Type | Beam Control Method | Edge Quality | Spill Management |
|---|---|---|---|
| Fresnel | Continuous mechanical track | Soft, blendable | Excellent with barn doors |
| PAR | Interchangeable lenses | Oval, defined | Moderate |
| Open Face | Reflector adjustment | Harsh, multi-shadowed | Poor |
The COB LED Size vs. Lens Diameter Constraint
The physical surface area of the Chip-on-Board (COB) LED directly affects collimation. A larger light-emitting surface is harder to focus into a tight beam. Larger LED emitters require proportionally larger Fresnel lenses to achieve highly optimized, ultra-narrow spot beam angles (15°–24°) without losing optical efficiency. If a manufacturer pairs a massive COB with a small 6-inch lens, the fixture will struggle to produce a true spot, resulting in a muddy beam with excessive spill.
The Inverse Square Law in Practice
Beam width directly impacts light intensity over distance due to the inverse square law. As the distance from the light source doubles, the intensity drops to one-quarter of its original value. When you widen the beam angle, you are spreading the same amount of lumens over a vastly larger surface area, which compounds the intensity drop.
Determine the required lux at the subject's face.
Measure the exact throw distance from the lighting grid to the subject.
Consult the manufacturer's photometric chart for the specific beam angle you intend to use.
Verify that the center peak lux at that distance meets your exposure requirements.
Edge Falloff and Softness
Evaluating the transition from center peak intensity to the beam edge reveals why Fresnel lenses are preferred for controlled, soft-edge blending in multi-source arrays. The concentric rings of the lens scatter the light just enough to soften the edge, allowing two adjacent fixtures to overlap without creating a visible seam or hot spot on the floor.
Evaluating Application-Specific Beam Angle Requirements
Narrow Angles (10°–24°): Spotlighting and Long Throw
Narrow angles provide high center-beam punch, strict subject isolation, and minimal spill. They are ideal for theatrical specials, high-grid studio lighting, solo performer spots, and long-throw architectural highlighting. When rigging fixtures 40 to 60 feet above a stage, a narrow beam is mandatory to ensure enough light reaches the deck. However, they are prone to harsh shadows if used at short distances and require precise aiming. A slight bump to the fixture can move the spot entirely off the subject.
Medium Angles (25°–40°): Standard Studio and Key Lighting
Medium angles offer balanced coverage for human subjects without excessive background spill. They are suited for broadcast news desks, interview setups, and medium-throw stage washes. This range provides enough spread to cover a person moving slightly in their mark while maintaining enough intensity for camera exposure. They may require diffusion gels if the LED source exhibits multi-shadowing at the wider end of this range.
Wide Angles (40°–60°+): Wash Lighting and Short Throw
Wide angles provide broad, even illumination across large surface areas from close proximity. They are ideal for low-ceiling studios, cyclorama lighting, and general stage washing. They suffer from a rapid drop-off in intensity and are highly susceptible to uncontrolled spill without aggressive barn door flagging. When using wide angles, you must physically cut the light off walls and set pieces to maintain contrast.
Layering and Combining Beam Angles for Dimensionality
A single beam angle profile cannot solve complex lighting plots. Designing a layered plot requires pairing narrow spot Fresnels for face illumination and separation with wide-angle wash Fresnels or wash moving heads for environmental cohesion. You build the base wash with wide angles, then punch through that wash with narrow spots to highlight the principal talent.
Fixed Lens vs. Zoom LED Fresnel Light: A Cost-Benefit Analysis
When to Specify Fixed Beam Angles
Fixed beam angles offer higher mechanical reliability due to fewer moving parts and marginally higher optical efficiency. They are best for permanent architectural installations, dedicated studio positions with fixed sets, and bulk purchases where the throw distance will never change. If a fixture is going to be bolted to a catwalk and aimed at a specific podium for five years, a fixed lens is the logical choice.
The Operational Advantage of a Zoom LED Fresnel Light
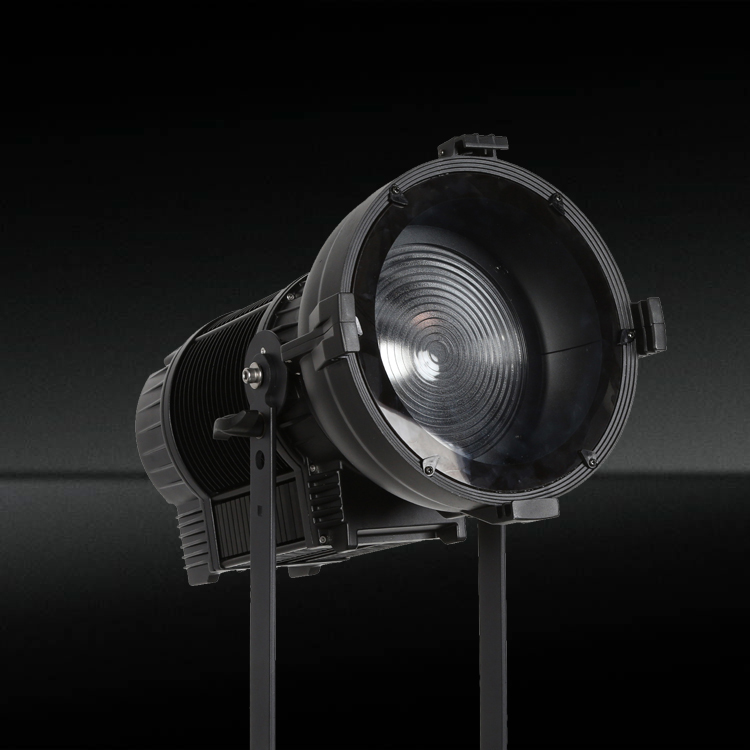
A Zoom LED Fresnel Light eliminates the need for multiple fixture types, allows rapid reconfiguration during live events, and simplifies adaptation to varied throw distances. Manual and motorized (DMX-controlled) zoom mechanisms impact programming and operational workflows differently. Motorized zoom allows the lighting console operator to adjust the beam spread mid-show, which is invaluable for dynamic theatrical productions.
| Feature | Fixed Lens Fresnel | Zoom LED Fresnel |
|---|---|---|
| Flexibility | Low (requires physical relocation) | High (adjustable spread) |
| Moving Parts | None | Mechanical track / Motor |
| Setup Speed | Slow (requires swapping fixtures) | Fast (dial in the spread) |
Conceptual Trade-offs in Zoom Fixtures
Evaluating the lux variance across the zoom range is necessary. A fixture might output 10,000 lux at 15 degrees, but only 2,000 lux at 50 degrees. Assessing the physical weight and thermal management requirements of motorized zoom carriages is also important, as the added motors increase the overall weight of the fixture, which impacts rigging limits.
Critical Evaluation Dimensions for Procurement
Photometric Data and IES File Verification
Relying solely on marketing spec sheets often leads to under-illumination. Reading manufacturer photometric charts to verify center lux at specific throw distances is crucial. You must import the IES files into lighting design software to see exactly how the beam will interact with your specific room dimensions and set pieces.
Barn Door Compatibility and Shaping Efficacy
Beam angle interacts directly with barn doors. Evaluating whether the fixture's optics allow for clean cuts or if wide angles cause light to bypass the leaves ensures proper control. If the LED engine sits too far forward in the flood position, the light will hit the barn doors at an extreme angle, causing messy, undefined cuts.
Color Mixing and Beam Homogeneity
Assessing color fringing at the edges of the beam, particularly in RGBW/RGBAW fixtures, is vital. Ensuring the beam angle remains consistent across different color temperatures and intensities maintains visual quality. Poorly designed optics will show a distinct red or blue halo at the edge of the field angle.
Implementation Risks and Mitigation Strategies
Risk: Over-specifying Beam Width
Excessive light spill onto projection screens, audience areas, or adjacent sets causes washed-out contrast. Default to a narrower beam with diffusion, or mandate a zoom fixture for precise dialing. It is always easier to soften a narrow beam than it is to control a beam that is too wide.
Risk: Underestimating Intensity Drop at Wide Angles
This leads to insufficient exposure for cameras and an inability to match the intensity of key lights. Calculate required lux at the flood position, not just the spot position, before finalizing fixture wattage. If you need 1,000 lux at full flood, you must buy a fixture powerful enough to deliver that specific metric.
Risk: Mechanical Failure in Zoom Optics
Fixtures stuck in unusable beam angles during critical productions cause significant issues. Evaluate the build quality of the zoom track. Look for metal bearings and robust lead screws rather than cheap plastic gears. Review warranty terms specifically regarding the moving parts of the zoom carriage.
Conclusion
To ensure optimal lighting performance, execute the following steps before finalizing your lighting plot:
Measure the exact throw distances from all rigging positions to the primary subject areas.
Calculate the required lux at the flood position to guarantee sufficient camera exposure.
Import manufacturer IES files into your design software to validate field angle overlap.
Test barn door cuts physically to ensure the optics support clean light shaping.
FAQ
Q: What is the difference between beam angle and field angle?
A: The beam angle is the point where light intensity drops to 50% of the center peak. The field angle is where it drops to 10%, indicating the total usable spread of light.
Q: Why should I choose a Fresnel over a PAR light?
A: A Fresnel provides a soft-edged, highly controllable beam that blends easily, whereas a PAR light relies on interchangeable lenses and offers less precise edge control.
Q: When is a narrow beam angle best used?
A: Narrow beam angles (10°–24°) are best for long-throw applications, isolating subjects, and creating dramatic highlights without excessive spill.
Q: How does zooming affect light intensity?
A: Zooming out to a wider flood position spreads the light over a larger area, significantly reducing the center lux intensity compared to the narrow spot position.
Q: Can I use a wide beam angle for key lighting?
A: Wide beam angles can be used for key lighting at short distances, but they require careful flagging with barn doors to prevent unwanted spill on backgrounds.